


DJI Ronin 4D
The Future Is Rolling
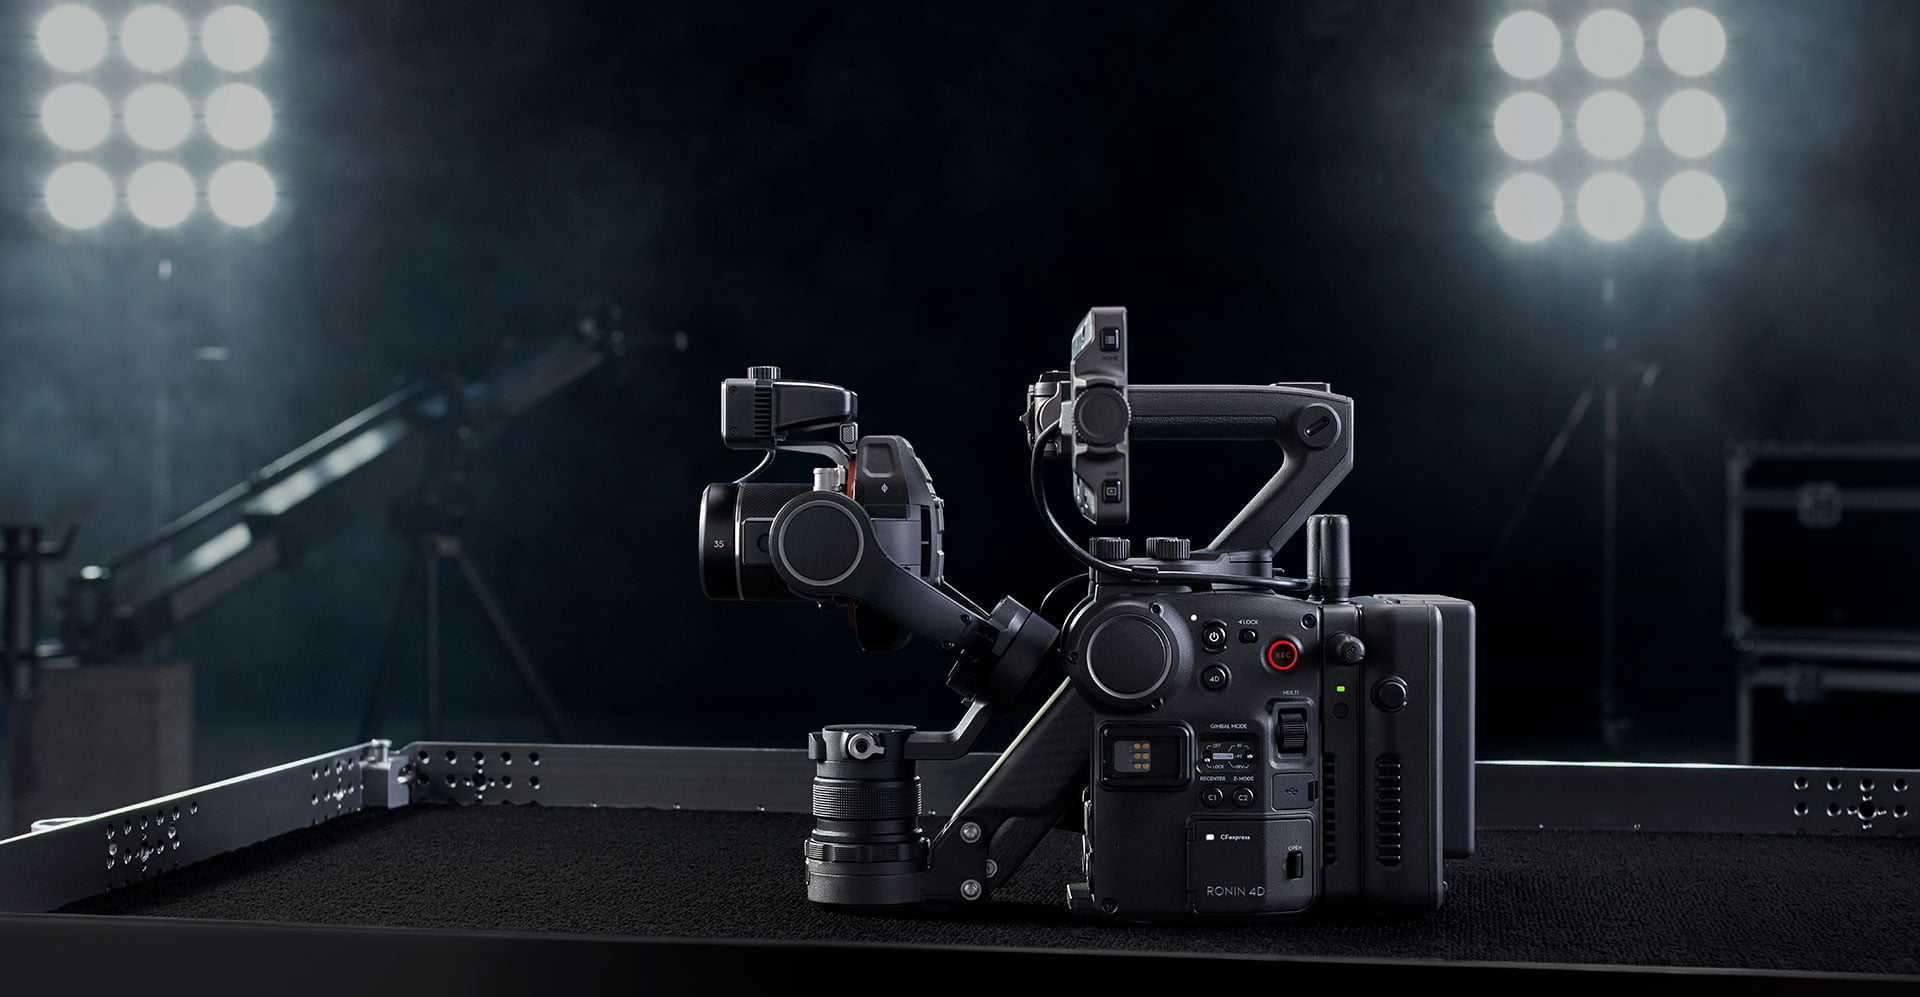
Integrated and Modular: Both Realized in One Camera

Combination of Integration and Modularity
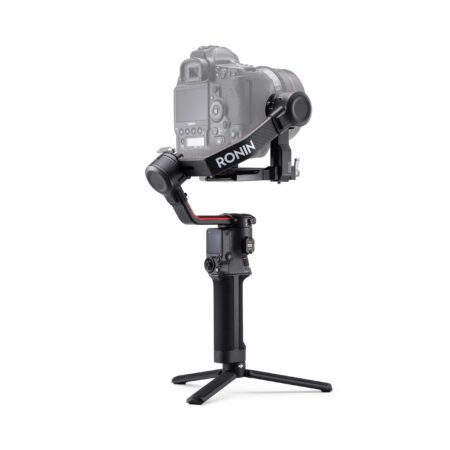
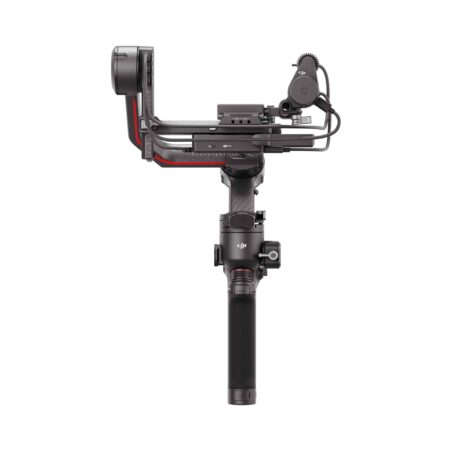
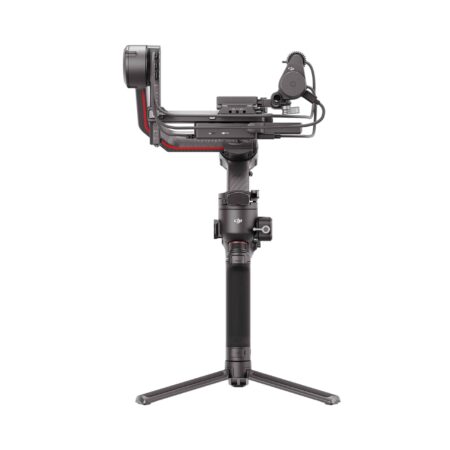
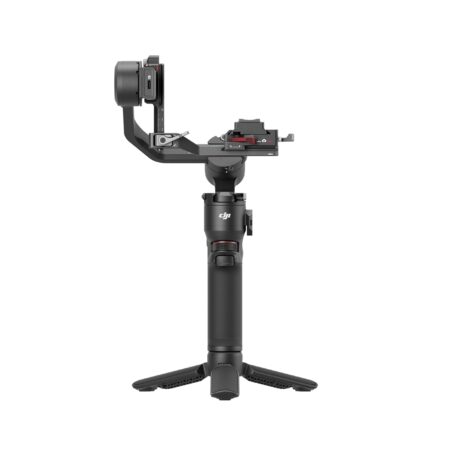
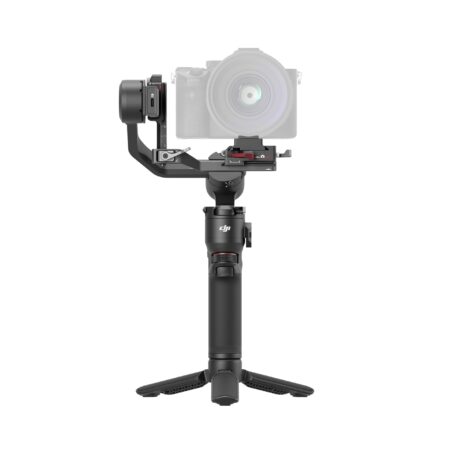
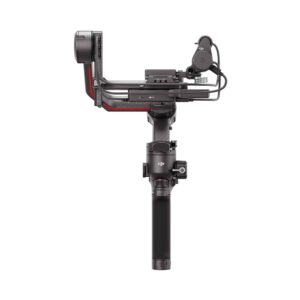
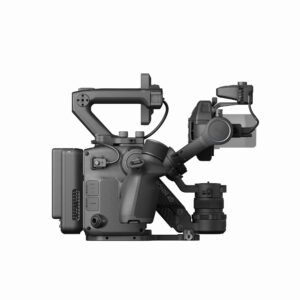
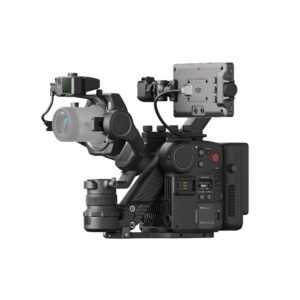
DJI Ronin 4D offers a completely unique design. Crafted with carbon fiber and aluminum magnesium. Its solid body integrates the imaging, stabilization, and focusing systems, as well as wireless transmission and control. This avoids time-consuming setup and enables quicker shooting. Enjoy compact convenience along with the expansive possibilities from modular accessories.
Designed for Pros Cinematic Imaging System
Processing Power
Ronin 4D is equipped with Zenmuse X9, DJI’s flagship full-frame camera. It also features DJI’s latest image processing system, CineCore 3.0. This system uses DJI’s proprietary chip to provide advanced processor architecture, offering extremely high-performance computing power in a compact cinema camera. CineCore 3.0 allows Ronin 4D to support internal recording of Apple ProRes RAW, ProRes 4444 XQ, ProRes 422 HQ, ProRes 422 LT, and H.264 video. It also supports up to 8K/75fps and 4K/120fps video recording. Delivering multiple options for professional-level creation.
Resolution
DCI 8K (8192×4320)/60fps video retains every little detail. From rich foliage to inspiring architecture. From skin texture to strands of hair, all with flawless quality. For those who need to output in 4K, recording in 8K. Its offers unprecedented creative options with more flexibility for cropping, re-composing, and stabilizing videos in post.
High ISO
Zenmuse X9 supports dual native ISO. X9-8K offers EI 800/4000 at full frame 30 fps and below, and EI 320/1600 above 30 fps, while X9-6K offers EI 800/5000. They provide records images with exquisite detail and minimal noise. Even when filming an evening cityscape or beach, or a scene lit by dim candlelight.
Dynamic Range
With 14+ stops of dynamic range. Zenmuse X9 delivers natural transitions of highlights and shadows in complex lighting conditions such as backlit scenes and direct sunlight. These traditionally difficult scenes can now be captured easily and with confidence.
Color Science
With the DJI Cinema Color System (DCCS) and robust computing power provided by CineCore 3.0, Zenmuse X9 is able to give images a cinematic look by retaining authentic and accurate colors. It also supports the industry-standard ACES workflow. It serves to ensure effortless compatibility with the color tones of other cinema cameras.
Built-In 9-Stop ND Filters
X9 has 9-stop built-in high-quality ND filters (ND 2 to ND 512, or ND 0.3 to ND 2.7). It that can be quickly and easily switched thanks to an internal motorized system. These filters were also designed to match and compliment the color science of Ronin 4D.
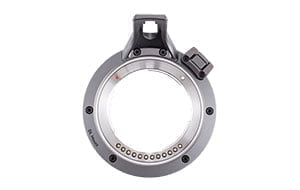
DL Prime Lenses
X9’s standard DL mount supports a set of compact full-frame prime lenses. The housings are made of lightweight, monocoque carbon fiber, so each lens weighs very small. As a result, it is approximately 180 g. DJI plans to make other lens models of its own design compatible in the future.
Interchangeable Mounts
X9 supports interchangeable lens mounts, including DJI’s proprietary DL mount as well as third-party mounts like Leica L, Leica M, Sony E, and ARRI PL (E-mount and PL-mount units are provided by third parties). Ultra-wide, f/0.95 large-aperture, power zoom, macro, and anamorphic lenses. They are compatible with traditional cinema cameras also work on X9, providing flexible lens options.
Wireless Control
Whether you’re using manual or autofocus lenses. Dedicated modules mounted to X9 can achieve wireless lens control and even autofocusing.
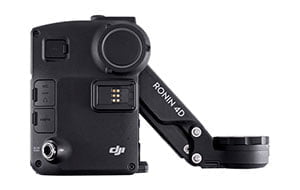
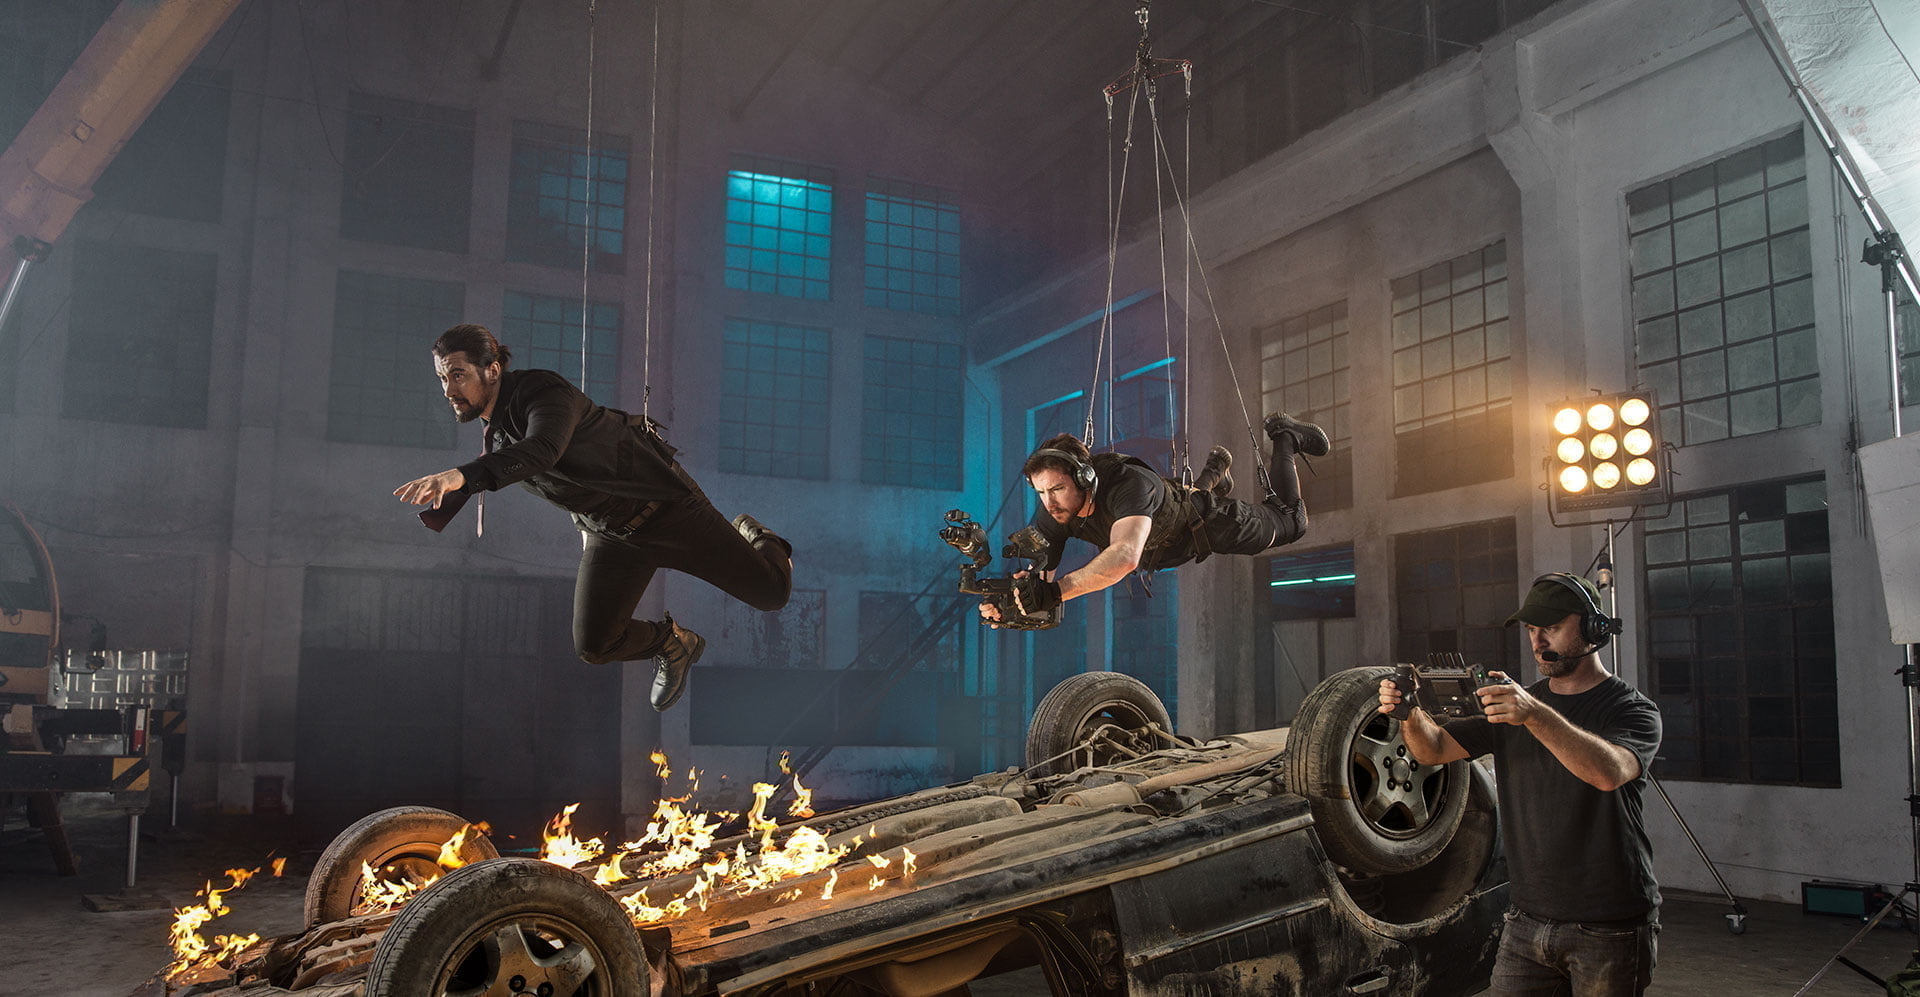
Steady in Every Way 4-Axis Stabilization System
Z-Axis Complements DJI's 3-Axis Proprietary Stabilization
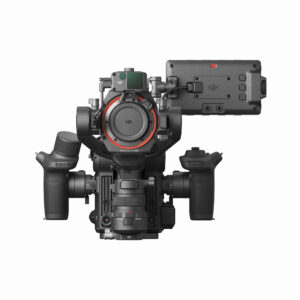
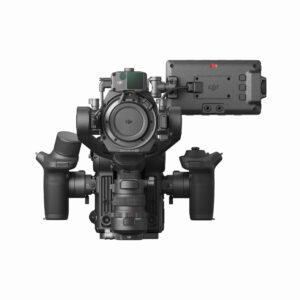
Ronin 4D is unique not only in its design and capabilities. DJI Ronin 4D adds a Z-Axis to the traditional 3-axis gimbal. More precisely, the Z-axis has also been added to the proprietary 3-axis stabilization. It effectively decreases vertical camera shake and offers stabilization performance on par with a dolly. The four axes work together with a downward ToF sensor, forward and downward dual-visual sensors, a built-in IMU and barometer. All this is complemented by a new advanced algorithm to bring the overall stabilization to a whole new level.
Camera Stabilization
In Ronin 4D, the manufacturer has combined several important functions at once. The built-in image processing and stabilization system uses a matrix and optical components. They are built into the camera, which works on a stabilizer. Two symmetrically mounted actuators help the stabilizer tilt axis function. And an additional rigid buffer serves for the proper functioning of the axis of rotation and roll.
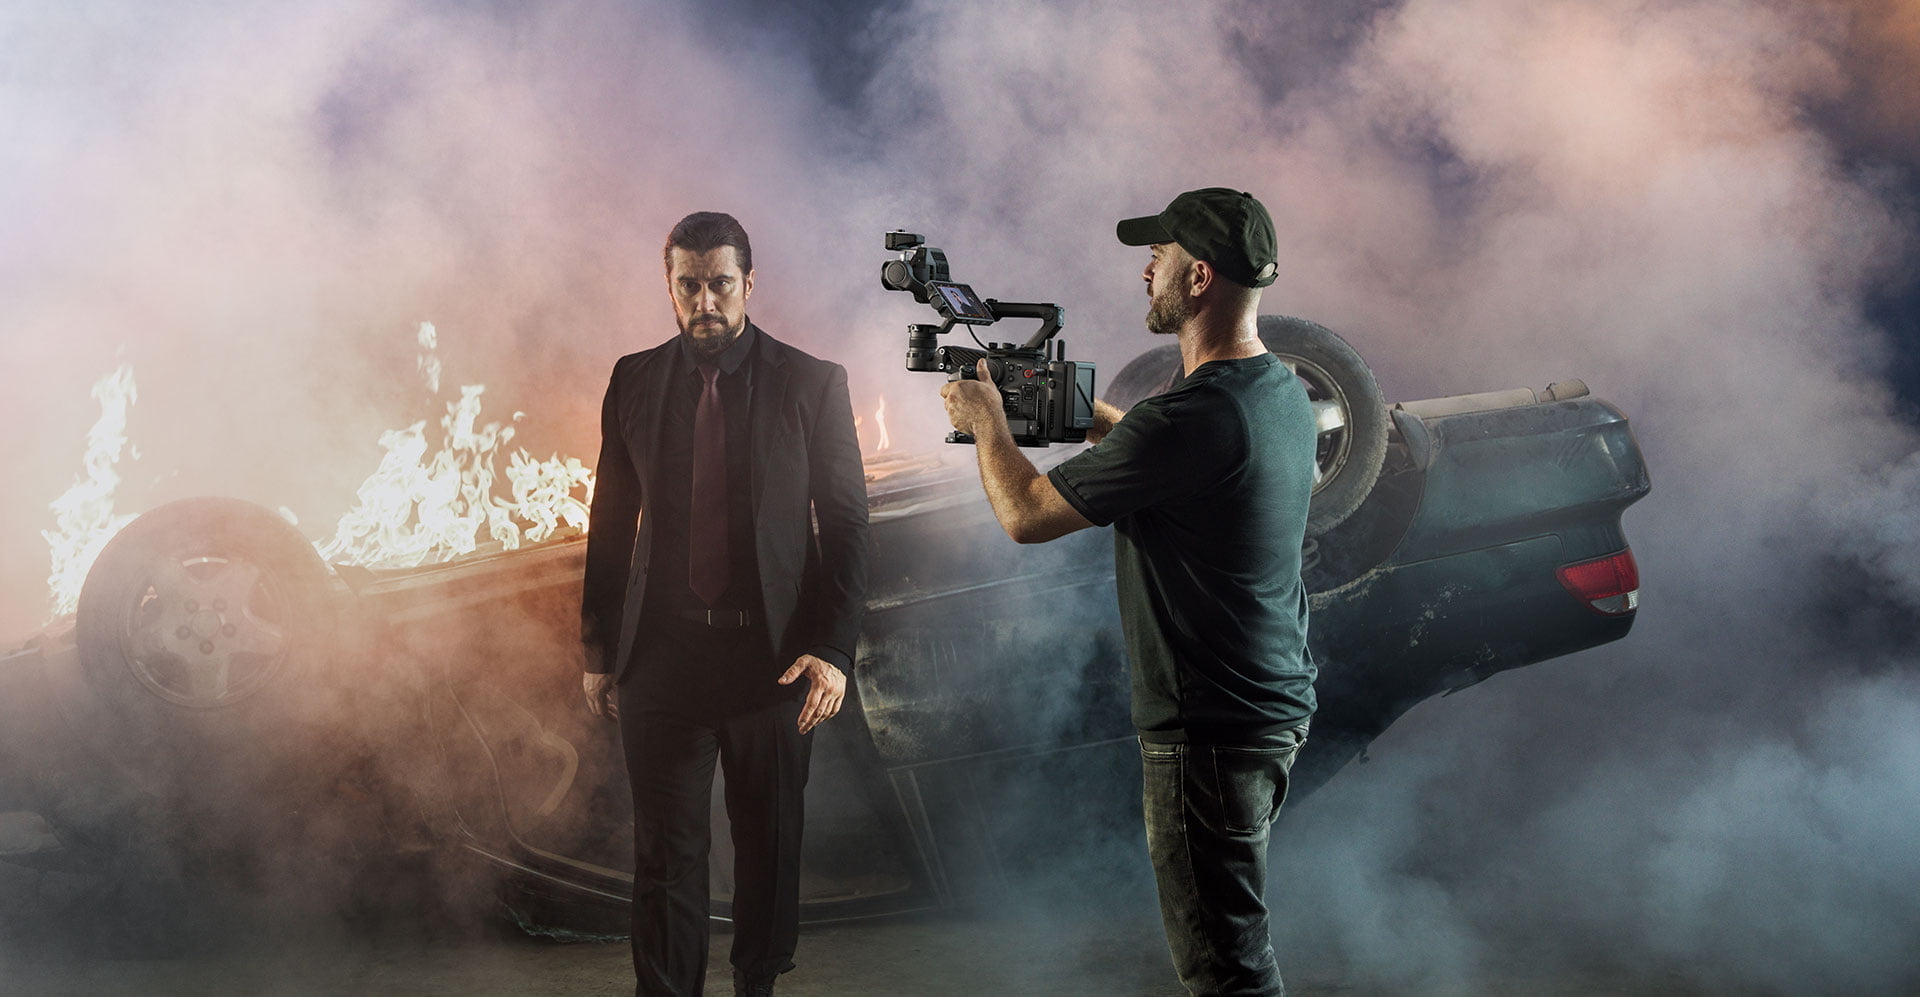
ActiveTrack Pro
DJI’s proprietary computer vision, deep learning technology, and the robust computing power of CineCore 3.0. All together they serve to function ActiveTrack Pro, which enables cinema-standard tracking shots, even in just one take. This technology also allows subjects to be tracked from longer distances and features composition adjustment with continuous autofocusing. Thus, the subject is in focus.
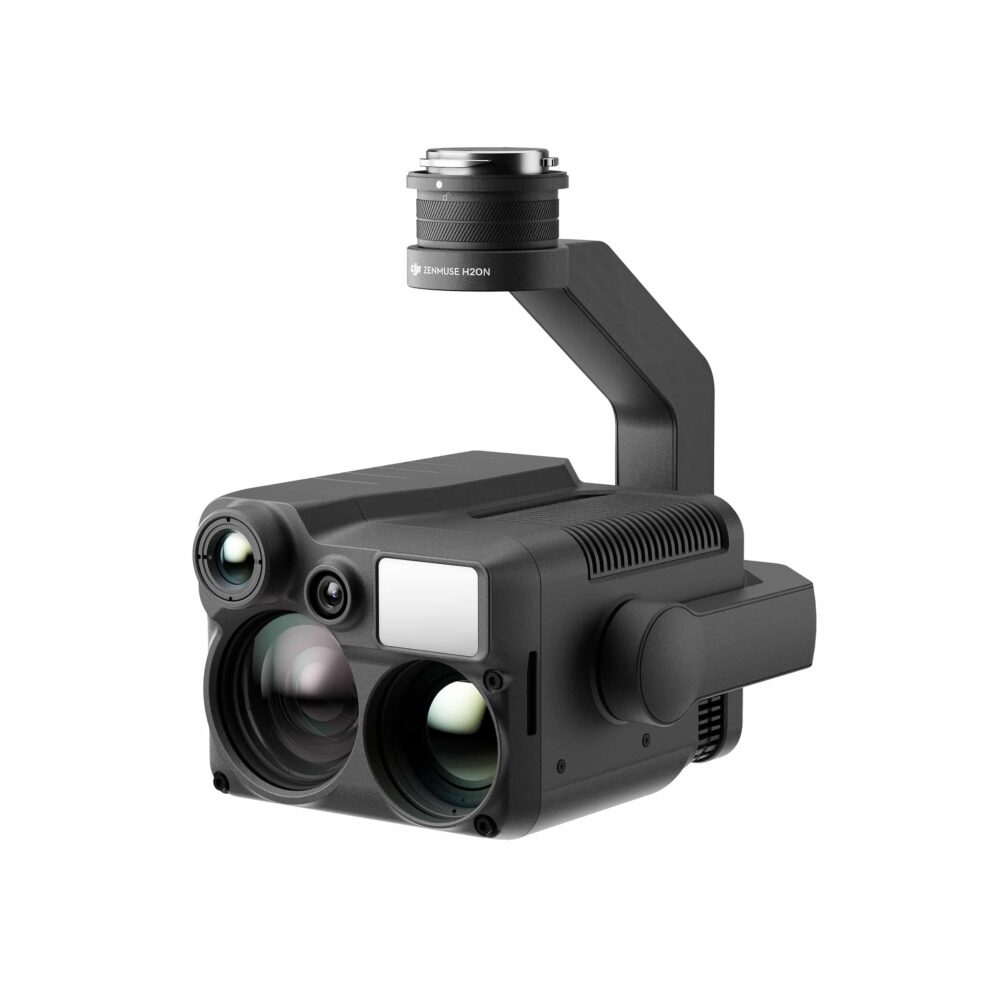
Unparalleled Accuracy LiDAR Focusing System
LiDAR Waveform
DJI Ronin 4D makes manual focusing easier than ever. The visualized focus assistance technology displays the ranging points on the main and remote monitors in a simplified top-down view. This allows the focus points to be displayed using the main and remote monitors in a simpler manner. For this, an innovative and intuitive lidar oscilloscope is used. Thanks to him, the installation of focus points and their adjustment is fast and very accurate. The system allows even novice users to work with the tool and thus quickly get used to using manual focus.
LiDAR Range Measurement
The LiDAR Range Finder can cast up to 43,200 ranging points within a 10-meter detection range. Compared with phase detection autofocus (PDAF), Ronin 4D’s LiDAR Focusing System can focus faster. Without compromising the image quality or relying on the surface texture of the subject. This is especially useful in low-light environments. Compared to other cameras, focusing will be much better.
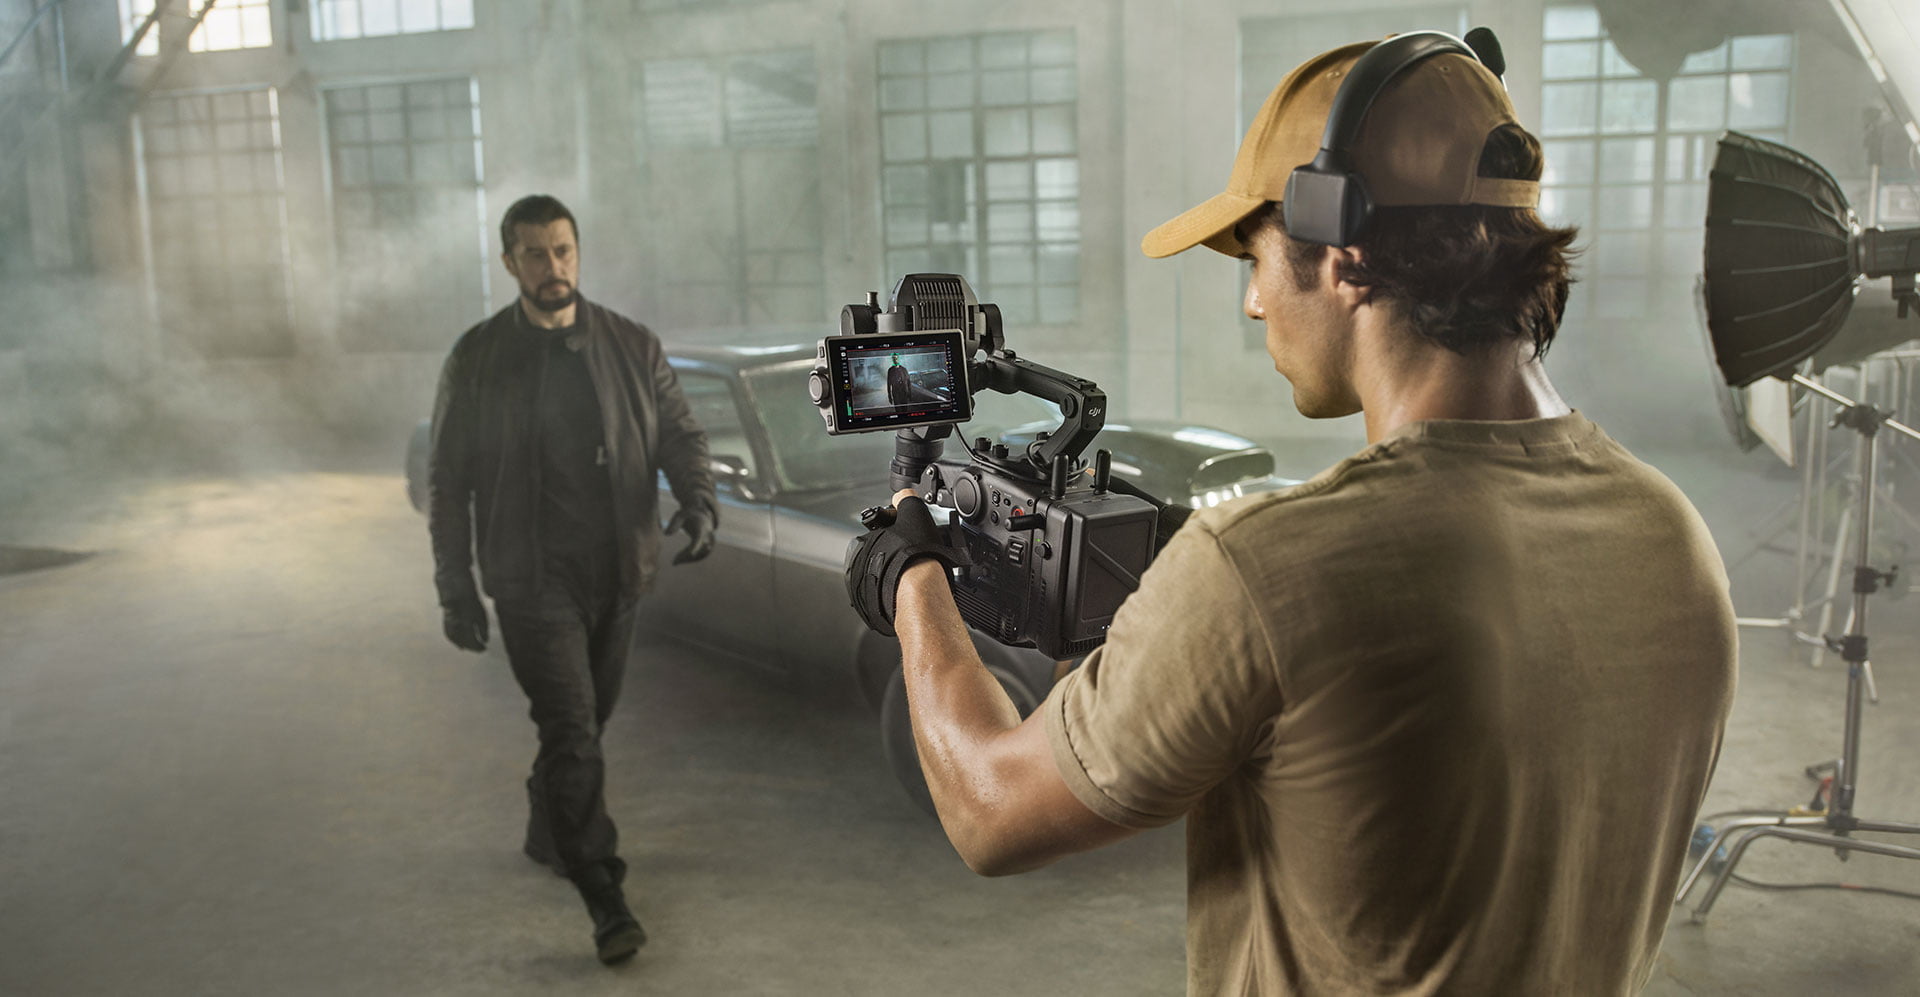
Autofocus
With the new LiDAR Focusing System, Ronin 4D is able to maintain focus even when there is severe motion blur caused by subjects moving quickly. With the focus motor mounted, autofocus is available even on manual lenses. Continuous autofocusing on subjects can be enabled together with ActiveTrack Pro, making it especially convenient for solo operators.
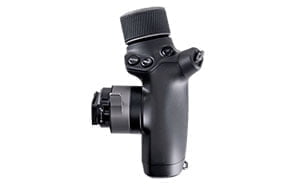
Automated Manual Focus
Automated Manual Focus (AMF) mode gives you the accuracy and flexibility of manual focus with the convenience of autofocus. The focus wheel will rotate in sync as the focus point changes, but cinematographers can take manual control at any point. The focus wheel on the right hand grip even features dynamic damping with electromagnetic technology. This gives cinematographers a physical sense of focus changes, providing a more intuitive and modern focusing experience that is unrivaled in the industry today.
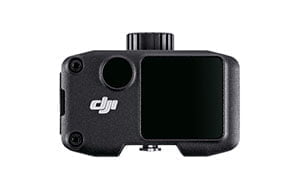
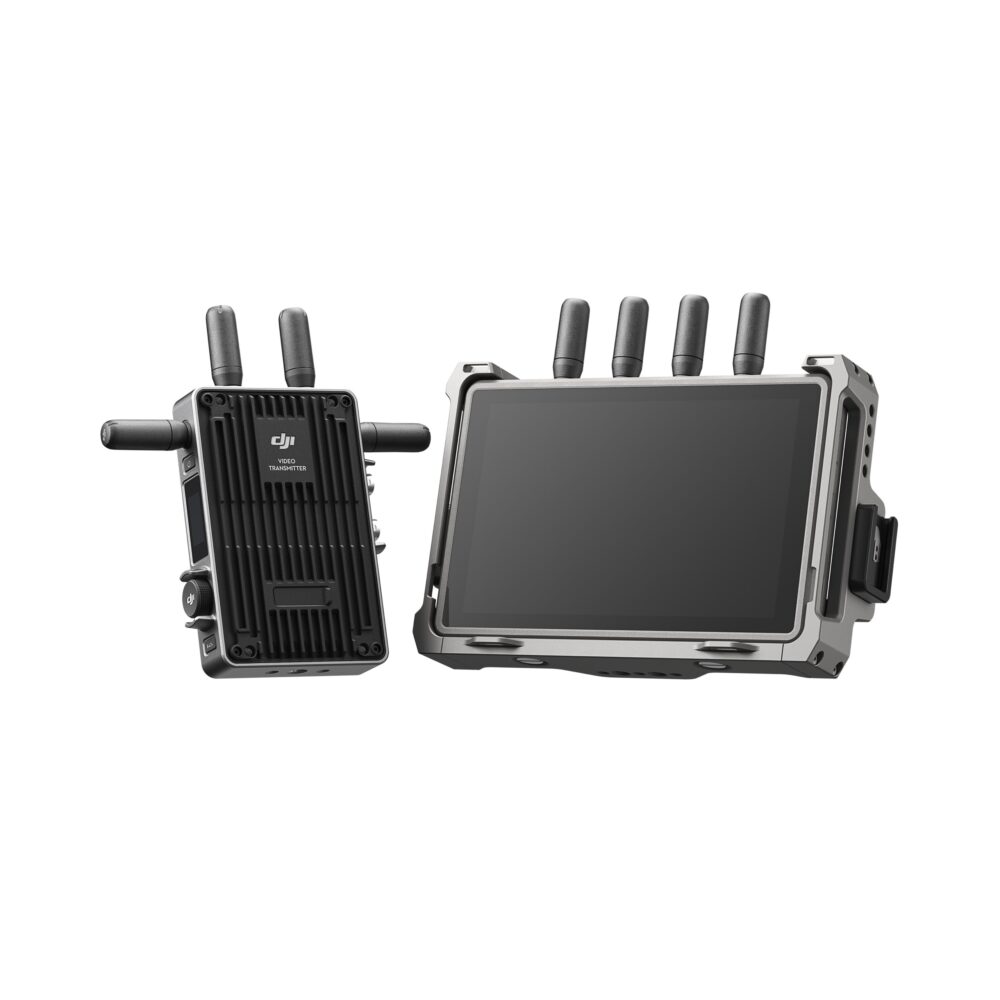
Wireless Transmission & Control System
Efficiency, flexibility and total control
Ronin 4D uses the all-new DJI O3 Pro Video Transmission technology. This technology offers a 20,000-foot transmission range. That would be unimaginable on traditional solutions. In addition to 2.4GHz and 5.8GHz, it supports the DFS frequency band and an AES 256-bit encryption algorithm that can output a 1080p/60fps FHD feed to multiple remote monitors simultaneously with significantly enhanced security, stability, and anti-interference capability.
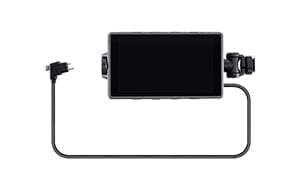
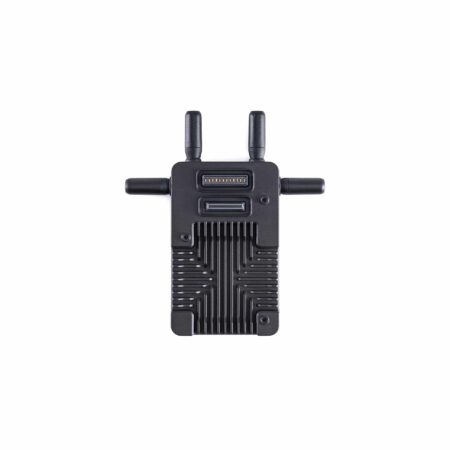
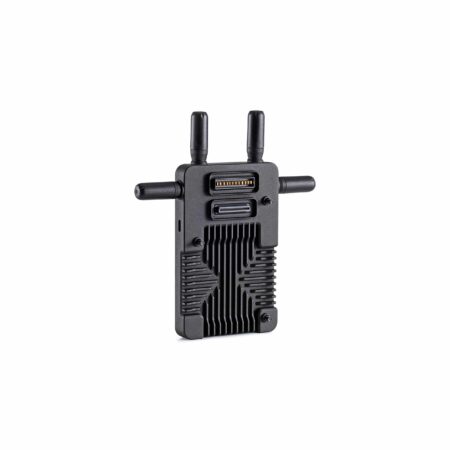
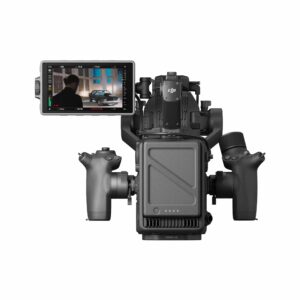
Integrated Design
The 4D Video Transmitter can be directly mounted onto Ronin 4D and powered by the battery of the main body. With a built-in wireless video receiver, the High-Bright Remote Monitor [1] has a 7-inch, 1,500-nit high-bright, wide color gamut touchscreen display that can output both HDMI and SDI signals through the expansion module. Its compact and lightweight body provides optimum portability and efficient setup so users can start shooting immediately.
Coordinated Shooting
The High-Bright Remote Monitor supports one transmitter with multiple receivers for video and audio feeds. Two transmission modes are available. The first is Broadcast mode, which sets no limit on the number of receivers and is suitable for monitoring with large crews. The second is Control mode, which supports the coordinated operation of two receivers.
Mirror Control Mode
Mirror Control Mode gives the High-Bright Remote Monitor an identical control interface as the main monitor, including all advanced features such as source clip playback, and camera and gimbal settings, which can now be remotely adjusted even when Ronin 4D is mounted to expansion platforms such as a jib, cable cam, or vehicle mount.
Independent Recording and Playback
The High-Bright Remote Monitor has a built-in microSD card slot that supports independent recording of video at up to 1080p/60fps. When several remote monitors are used in conjunction, each monitor can play back clips separately without interfering with other monitors.
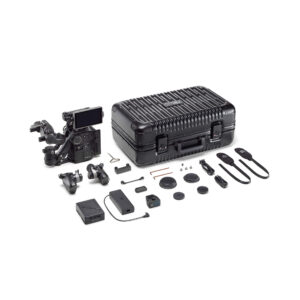
Unique device with many useful components
Outperforms in Every Way It's All in the Details
The 5.5-inch 1,000-nit adjustable screen can be mounted to various points on the main body. Exposure waveform, false color, and zebra. LiDAR waveform, peaking (aperture and color peaking), and focus magnification (2x and 4x). Customizable frame guides, safety zone, and center marker. Supports customizable LUT input. Video recording, main monitor, main body HDMI, and remote monitor feeds can load independent LUTs.